
resource files: Lesson 3
|
|
|
|
Photoshop Crash Course
|
Advanced Portrait Retouch07-25-18 This Lesson Covers:
|
|
|
|
|
|
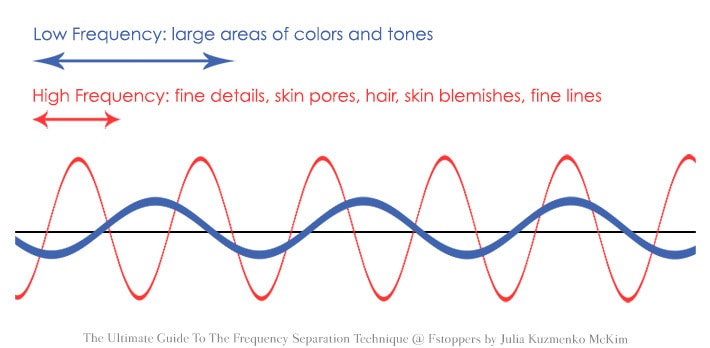
WHAT IS FREQUENCY SEPARATION?
Like in music any audio can be represented in sine waves, we can also break up an image into low and high frequency sine waves.
High frequencies in an image will contain information about fine details, such as skin pores, hair, fine lines, skin imperfections (acne, scars, fine lines, etc.).
Low frequencies are the image data that contains information about volume, tone and color transitions. In other words: shadows and light areas, colors and tones. If you look at only the low frequency information of an image, you might be able to recognize the image, but it will not hold any precise detail.
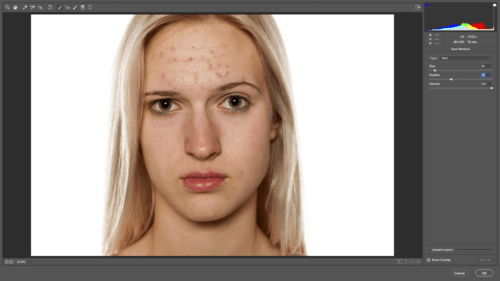
RAW BLEMISH REMOVAL
Start with a first pass in ACR or Lightroom.
- From the resource files folder, open L3Start.jpg. (You can also open L3End.psd as a reference.)
- If you haven’t imported this to Lightroom, Apply the Adobe Camera Raw filter and adjust the colors and exposure if necessary.
- Use the spot removal tool to touch up the darkest blemishes. Try to preserve as much of the original texture as possible. Use a light touch.
4.Once you’re in Photoshop, decide what bit depth you will be working in.
I like to use 16 bit depth for more colors and less risk of banding. Image>Mode>RGB 16 bit.
APPLY IMAGE SETUP
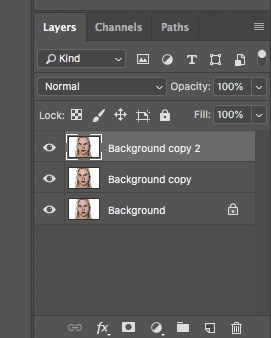
1a. Duplicate your Background layer twice: the top layer is the base for the high frequency image data and the bottom duplicate is for the low frequency image data.
1b. Turn off the visibility of the High Frequency layer and select the Low Frequency layer.
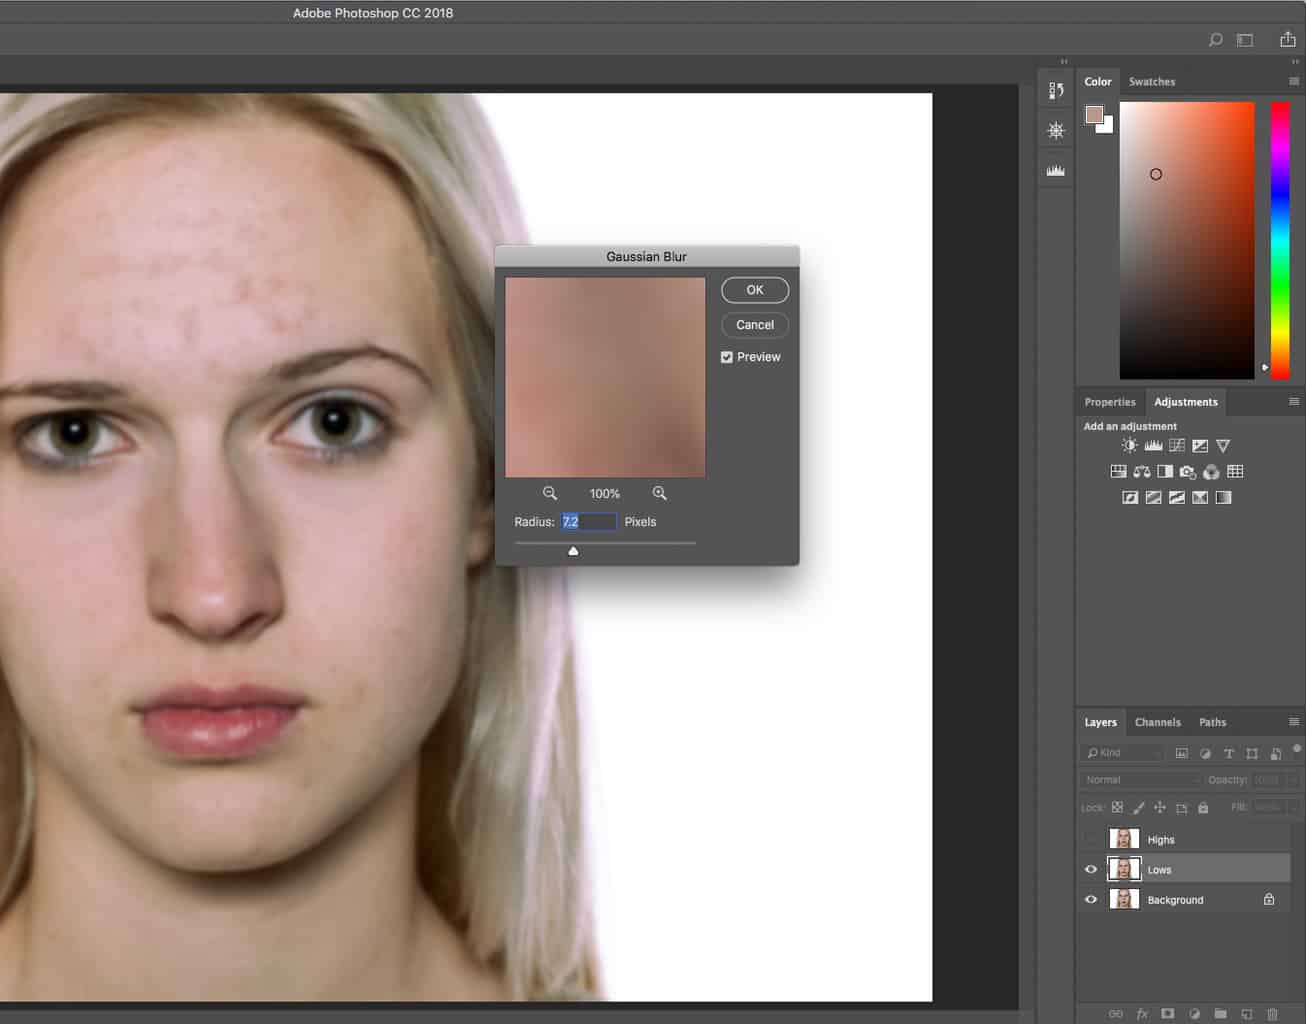
2. With the Low Frequency layer selected, run the Gaussian Blur filter and choose Pixel Radius with which all the fine details will be blurred. We turn off the visibility of the High Frequency layer, so that we can better see how our choice of Pixel Radius affects the entire image. After you’ve applied the Gaussian Blur filter, turn the High Frequency layer’s visibility back on.
3. Now select the High Frequency layer and go Image > Apply Image and depending on what color depth you’re working in your settings will be as follows

Note that in the Layer dialog you will need to select the layer that contains your Low Frequency (blurred) image. In my example it is called just that “Low Frequency layer”.
 4. Now change the Blending Mode of the High Frequency layer to Linear Light and your overall image will look exactly as before you started the separation.
You’re set up. I usually also group these two layers, so my Layer stack is more organized.
From this point on, every retoucher and photographer chooses his or her preferred tools to work their magic. Basically, we aim to soften and even out color and tone transitions on the Low Frequency layer, without affecting skin texture, which was captured and preserved on the High Frequency layer.
You will normally hear that the Clone Stamp tool or the Healing Brush tool with Current Layer Sampling setting and very low Hardness are the tools to work on the Low Frequency layer; the same tools only with very high Hardness settings are your High Frequency layer tools.
RETOUCHING WITH FREQUENCY SEPARATION
I recommend creating multiple layers for retouching.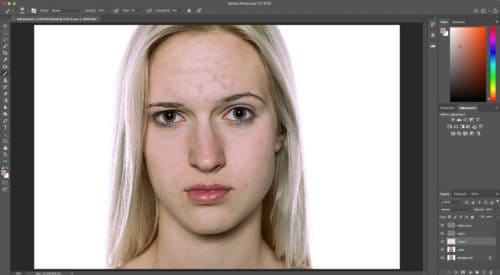
- Select the Lows layer. Create a New Layer and name it Lows 2.
- Duplicate the Highs layer. Make the two Highs layers invisible.
- Select the Brush Tool. Set the flow to 9 and the hardness to 0.
- Reselect Lows 2 layer. Hold Option and click the image to sample a color. Paint color as desired.

- Use your Lows 2 layer to paint soft color in as an alternative to classic color correction as well as touching up blotchy skin. Remember to keep updating your color sample and that you can erase and mask this layer as well if you overshoot it.
- Select the Lows layer and use the lasso to select the blotchy areas and apply a Gaussian blur filter to soften and blend the colors.
- Use your Highs 2 as an extra sharpening tool. Remember you can brush in or create a mask from selection to sharpen selectively.
- Flatten image and save for output or keep layers if you would like to work on it more.